

.deepIDVAppearance(_:) to any SDK view. It reaches every screen that view shows.
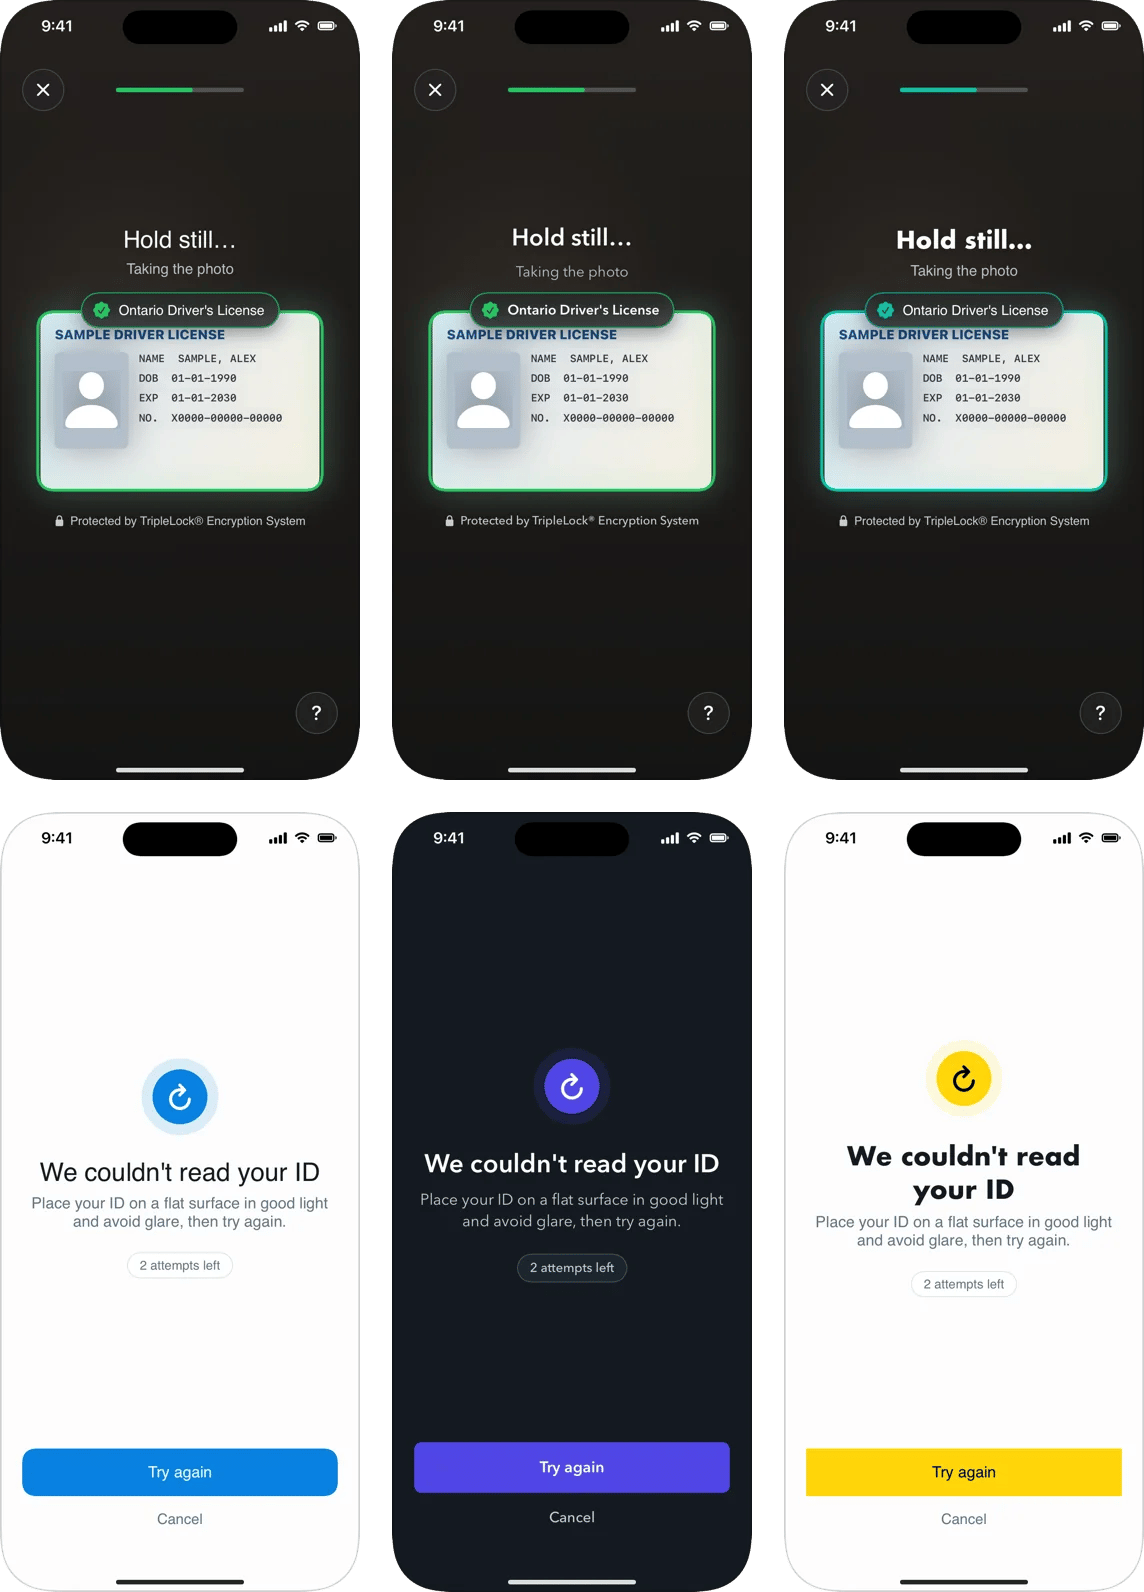
The same two screens: deepidv default, an indigo dark brand with Avenir Next, and a yellow light brand with square corners and a Futura heading.
Options
Every option is optional. Anything leftnil keeps the deepidv default.
What stays fixed, and why
Text on your colors
Text on a color you set turns black or white, whichever reads better on it. A light accent such as yellow gets black text on its buttons; a mid or dark accent keeps white.Fonts
Bundle your font files and list them underUIAppFonts in your app’s Info.plist. Use the family name (for example Avenir Next), not a file name. A family iOS can’t find falls back to the system font, so check every screen after you change fonts. Text sizes follow Dynamic Type.
Light and dark
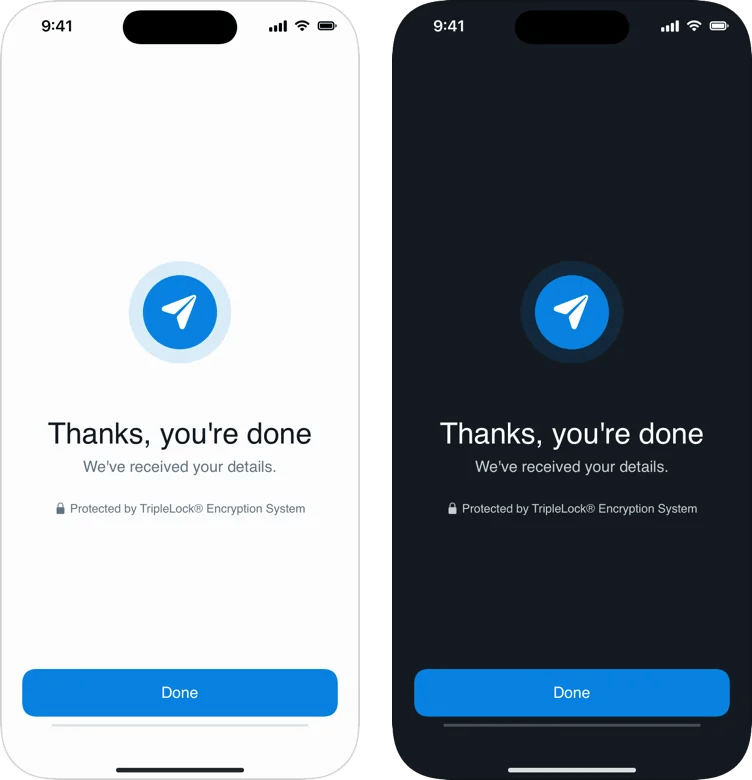
The closing screen in light and dark.
colorScheme, the SDK follows the system setting. Set it when your app has a fixed appearance.
Theme your whole flow
Put the modifier on the view you present. For UIKit, apply it inside theUIHostingController’s root view: